
Antinote: Minneapolis-based mutual aid group Twin Cities Logistics Collective dropped a fun instructional pamphlet this month, hoping to inspire and assist home and community gardeners in Minnesota and elsewhere as they begin to think beyond the winter darkness towards a spring of abundant sowing. We can feed ourselves and our entire neighborhoods if we’re creative enough about it. Sorry haters but building gardens is a revolutionary act!
This post is only an approximate reproduction of the zine in its original form. PDFs for reading and printing are linked at top and bottom. Save, print, and share hand-by-hand! Read and use it in groups!
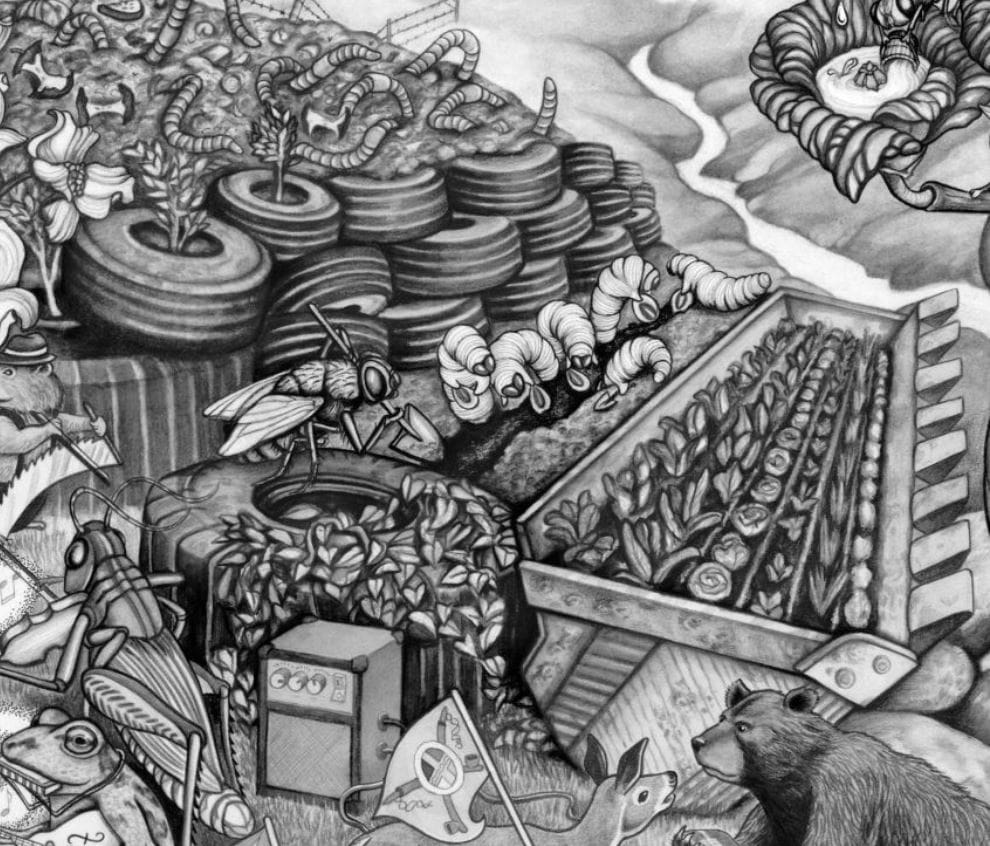
That Garbage Could Be a Garden!
An illustrated guide to salvaging and repurposing pallets for raised planters
by the Twin Cities Logistics Collective (Minneapolis)
Illustrations by the Beehive Collective
PDF originals (read | print)
20 January 2023
It’s amazing what capitalism throws away.
To be healthy, every ecosystem needs scavengers turning trash into treasure…this zine will show you one small way to do this wherever you are!
There is evidence all around us — even as additional ecological and political-economic tipping points approach, even as the crisis of capitalism flails and crumbles — that communities can be and are immensely resourceful.

If we work together with common purpose we can reimagine ways of getting what we need to build the things we need ourselves, without relying on or advancing the destructive and exploitative extraction that the current mode of production so relentlessly pursues.
In other words: in the ruins they are leaving us, we will plant gardens still. And these gardens will not be made from trees grown and harvested on the monoculture plantations that the lumber industry refers to as “their” “forests.” We will rediscover more respectful ways of regarding and relating to these magnificent creatures, trees, that industry has commodified to death, and use them well when we take them. And we will use the leftovers that the awful old machine is still casting off. Yes, we’re talking about pallets!
It’s OK to regard this zine as quaint or silly. It is! And also these are skills for our shared future, worth taking seriously, while having fun.
DISCLAIMER: Diagrams in this manual are generic! There are many different kinds of pallets — part of the fun of working with them is the creativity they require. The approach shown in these pages should be possible with most styles of pallets. If the pallets you find are very unique, they can probably still be used, with a little tweaking to the design!

This is also to say: the processes described in this zine — dismantling discarded pallets, and building garden beds out of them — are worthwhile activities beyond their utility. They are good for the soul! DIY building can be an absorbing puzzle — and like any good puzzle it is most fun to solve together with friends.
And of course, once enough of us are out here doing this all over the place, then our neighborhoods will be growing a lot more food! Not a panacea, but a really important component of community self-sufficiency and food sovereignty.
You will need:
Pallets
Screws: 1-5/8″ long, exterior (coated)
Tools: hammer, pry bar, circular saw, power screwdriver*
Safety: goggles and gloves, earplugs
Space: somewhere you can make a mess and make noise, best if outdoors
Respect: a place to dispose of or store old nails and other refuse
Buddies! Work as a crew, grow as a crew
Nice to have:
Comfort: a couple sawhorses or a workbench to avoid stooping
Warmth: a place to burn (hardware-free) scrap wood
*If you don’t have these things, see about borrowing them from a friend, a neighbor, or a local tool library!
Grab that garbage!
There are pallets everywhere. They are such common castoffs of global capitalism, we barely notice them. When they reach their end point, often in good condition, many will never re-enter circulation in the shipping system for which they were manufactured. They were made quickly and cheaply, with leftover scrap from the lumber mill, but they are made to be sturdy, and the wood is as good as any for building a box to put soil in.


- AVOID any pallets with paint on them or with the marking “MB” – these have been pumped full of poison (methyl bromide) to preserve the wood. Thankfully this is relatively uncommon.
- The marking “HT” is good! It stands for “heat treated.”
- Anything like plywood, particle board, oriented strand board, or other cheap chip composite is to be avoided, unless you want that glue in your garden.
Sometimes it pays to be an honorable pirate. Asking before taking will help you distinguish between pallets destined for the dump and those still in circulation — and it may also produce a reliable source longer term, as many smaller enterprises are grateful for the free disposal of these cumbersome hunks of junk (term of endearment).

A vehicle to transport and a spot to stash a stack of pallets are pretty handy, of course. There might be people around who can offer these if you don’t have them. Maybe they want to build garden beds too, who knows?
Bash ’em for boards!
Once you’ve got a little pallet stash (two is generally enough for one midsize planter, with boards leftover for the next one), get a little work station set up. A large, stable, flat surface about waist high is great to have, though it may be impossible to avoid working on the ground at some point while wrestling with a pallet. At any rate, be thinking about your physical health and be kind to your spine at all times!
- First cut across the slats down both sides of the pallet with a circular saw, towards the edge but inside the bracing boards (fig. 1). Give your saw blade some room so it doesn’t catch and kick back.
- Flip the pallet over and do the same on the underside, to remove the edge pieces (fig. 2).
(The slat cutoffs, though nailed to the brace, can be broken off with a hammer and reserved for tinder in your stove or firepit. The brace is a useful board, so pull the nails with a prybar to clean it up and set it aside.)


Now it’s just a matter of prying the slats free of the center brace(s). How difficult this is depends on the number, age, and type of fasteners used, and the hardness of the wood. Sometimes boards break no matter how nice you’re trying to be, but that’s not such a big bummer if you’ve got a fire to feed.
Get organized!
Once you’ve broken down a couple pallets, even if they were identical you’ll have a small assortment of boards. If you rocked a whole miscellaneous pile, there will be boards with many different lengths, widths, and thicknesses.
It’s really helpful to stack that cheese. Group the boards according to approximately similar dimensions and start thinking about what combinations will get you to roughly the dimensions you want for your garden bed. If necessary, trim all your boards to a few uniform lengths of your choosing. You may not have to if you were already making relatively precise cuts while removing the edge braces.

The generic pallet in these diagrams produced a few different sizes of board (fig 3). The braces — most often thicker, marked as X in the picture — are good to use for your corner posts. The length you cut these to will be the height of your garden bed.
When you’ve chosen your ideal height, you can start seeing what combination(s) of slats — the thinner boards, variable width, marked as Y and Z in the picture — get you close to this number, laid together in a column. Doesn’t have to be exact, and small gaps are OK! Higher planters use up more boards and take more soil to fill, but can also be more accessible for differently abled and older folks.
Building walls (in a good way)

Once you’ve got your boards picked out, make sure you have enough of everything to build four walls of approximately identical height (two pairs of approximately identical length). Cut your posts first – in our example you will need 6 of these, but it is also possible to make a bed with only 4, or necessary to use more in the case of longer beds.
It is easiest to start with your long walls. These walls are held together with only one post in the middle – a post where you can join two slats to extend a bed’s length or make use of shorter boards or cutoffs. If you build these ones first, there will still be loose posts lying around that you can use to hold up, and line up, both ends of the slats you are fastening, rather than trying to balance them on the solitary post.
On as flat a surface as you can find or make, lay down the post and set the first slat across it, making sure it is centered and square. Fasten from above, minimum 2 screws, and repeat for each additional slat or pair of slats (fig. 4).


The short walls are built the same way, only you’re fastening the posts at the edges. If you think of it, leave some room between the post and the edges in order to make an overlapping corner joint (figs. 5 & 6).


et Voilá
Leaving that space was good thinking – now a long and short wall will lock right into each other when you stand them up and align their edges. Much easier for your buddies to hold in place while you drive two screws into each board. Congrats on your first corner!
Do this twice and you have two big L’s…

Good job!
…that together make a giant W! (That means win, baby!!)

Literally it’s a rectangle. But you could make three more and arrange them all in a W. That would be a hot ass garden.
TLC 2023